top of page

Character control
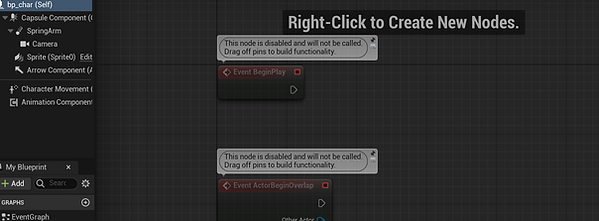
After we create all the inputs needed to control the character, now we have to create an event graph for the character using the inputs Which we put in the inputs file, they are MovingRightLeft and Jump, and to do that we have to connect the points (nodes) and connect them with each other for the purpose of controlling the character completely.
1- First we need to go to the blueprint of the character (bp_char)
On this page we will be able to call up the entries that we created previously and link them to the software that will make us control the character
2- We have to click on the left mouse button to call up the software and inputs
And write in the search box (get controller):
3-Now we have to specify which character we want to control by writing in the search box
(cast to player controller):It makes us specify the character that we will control, which is bp_char
5- After writing the software to determine the character to be controlled, we have to add a point (node) that makes us able to control the character, which is (get enhanced input local player subsystem): The ability to get input
5-Now we have to put the point where we put all the entries by writing in the search box
(add mapping context): It is the one in which we will place the file allmovement in which all entries are located
6- In mapping context, select allmovement
7- We have to connect all these points in event begin play so that we can control the character every time we start playing

After putting the necessary software to make us able to control the blue_char character, we now have to put the points that will make us decide how these inputs work (jump) (MovingRightAndLeft) To do that, we must do the following:
1- Call the entry (MovingRightAndLeft) by typing its name in the search box

2- Add the point ( add movement input): Add the movements that will work when the entrance is verified
Inside the point we have to change the value of X from 0 to 1 in order for the character to move in the X axis

3- We clip them together and clip themaction value with scale value In order to be able to control direction right or left in the X axis

4- Click compile
Thus, we will be able to control the movement of the character left and right by pressing the D and A keys when starting the game
So that we can jump on us by doing the following:
1- Call the entry (jump) by typing its name in the search box

2- Adding the two points (jump) and (stop jumping) there is no need to explain them
We connect them like this

When we start playing and press space bar the character will jump and we can control how strong the jump is by:
Writing in the search box in the list of details of the character jump Z velocity

bottom of page